Refurbishing and reusing an old arcade cabinet.
About
Everything that goes on in Robert's life is recorded here. Well, not everything.
Navigation
Home
Books and Stories
Building a MAME cabinet
Build a Light Box
Sword of Omens
Mass Effect Gun
Zombie Apocalypse Team
Photography
Miscellaneous Projects
2013 Florida Trip
Mac Programs
Matching Seasons
Code Snippets
Blog
Dino Comic
Tremorworks
Comic Archive
Solar Air Engine
Gates of Shadow
E-Mail
Current
Book: Random stuff on my kindle.
Game: Working through my steam list of Sakura games. Don't judge me.
Computers:
Lenovo thin notebook (carried in briefcase)
M1 Mac Mini (Main machine)
Early 2008 8-core Mac Pro (downstairs machine)
2017 MacBook Pro (used for tabletop gaming)
Custom Built 6-core Intel Gaming PC
iMac from a customer (Bedroom, not used much honestly)
The Process
2-9/18Here's the story about how everything went wrong in my quest to refurb my arcade cabinet.
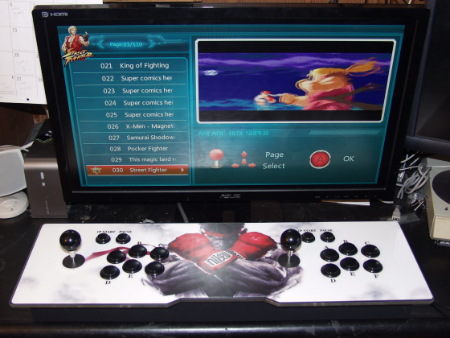
Basically a portable arcade joystick you can plug into a TV and have hundreds of games at your fingertips.
Even here, things have gone wrong without me knowing. I figure it would be chock full of "classic" arcade hits because those are the easiest to emulate, right? Wrong. It's full of fighting games, and a lot of Japanese stuff I've never heard of. Great! Not exactly what I wanted, but there's some good stuff on there so I figure it'll work out. I press on.
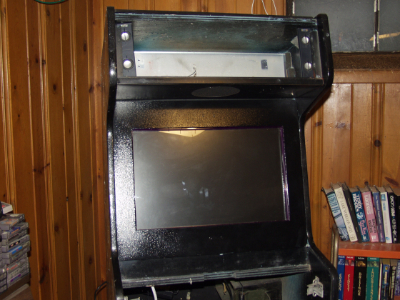
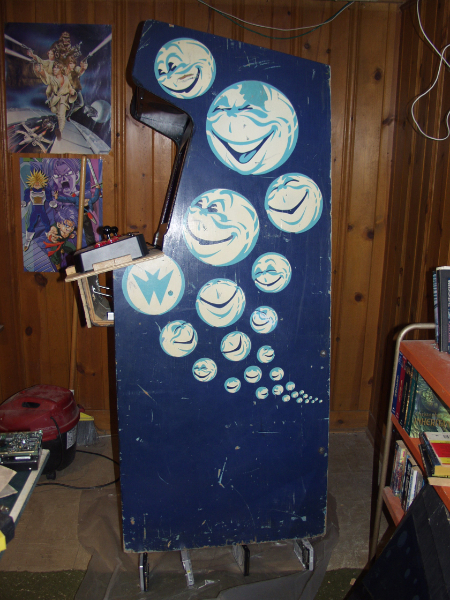
The target of this is my old Bubbles arcade cabinet. Having sat in my basement for over 15 years, it's time to do something with it.
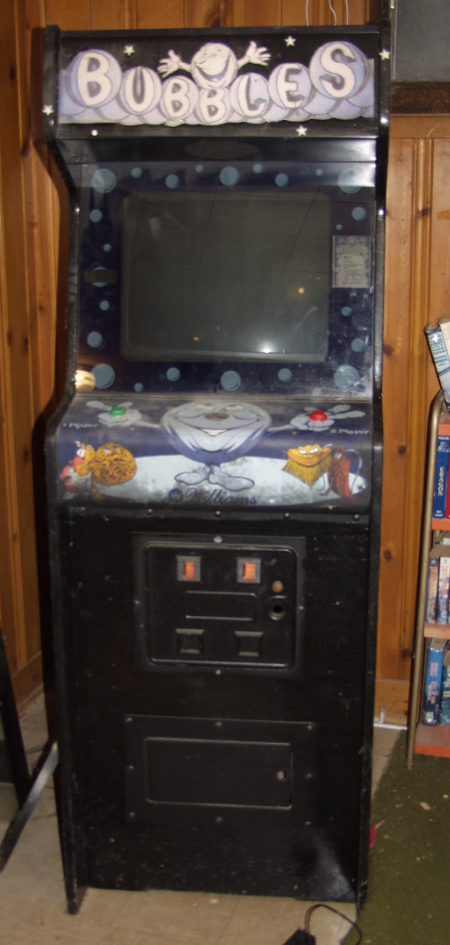
It originally had a CRT television shoved into it, and I used it mainly for NES and TurboGrafx 16 games back in the day. Like, 25 years ago?
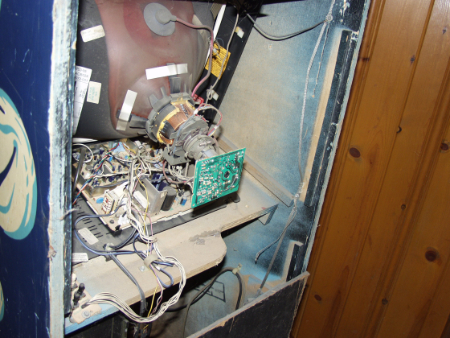
So the first thing to do is strip that out of there.
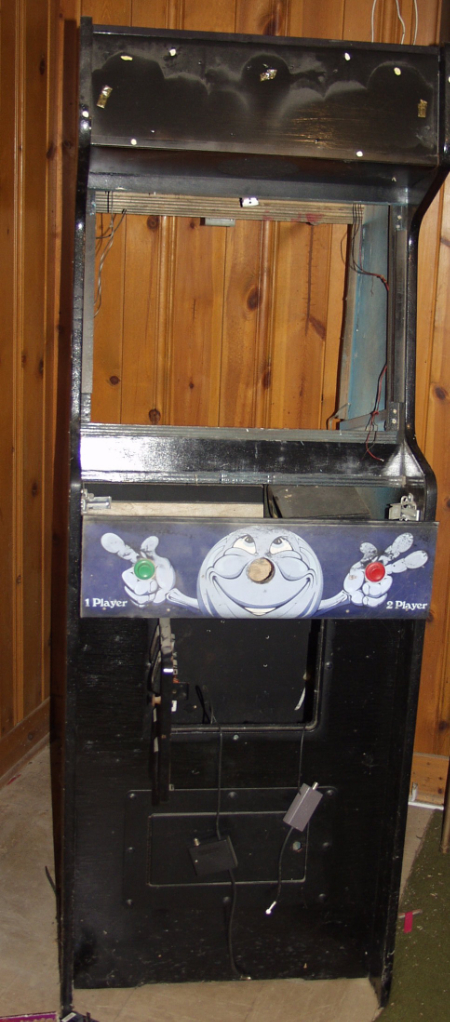
As you can see, my plan is to simply lower the front part, rest the arcade stick on that, paint the whole thing to look a little better, and be done with it.
First order of business, get a screen for the thing. I found an LCD that exactly fit. I mean it was so tight, I can't even tell you how tight it was. It was that tight.
Now the problems really start in earnest. The speakers worked great. But the screen, oh my goodness. I turn that sucker on and am greeted with this.
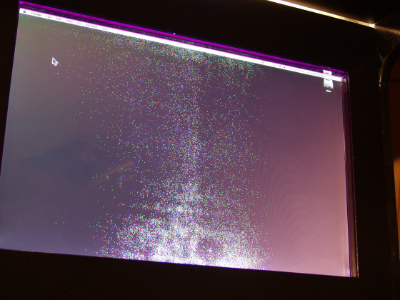
Thousands of dead pixels! Totally unusable. I spent a lot of money on that screen too, but of course from ebay. I should have sent the thing back but it was so perfect, and I didn't find anything else this exact size and configuration. With that nice metal bezel and whatnot. Moron didn't offer to take it back either, which I felt they should have. While trying to figure out what to do I pressed on.
This is simply 2 sheets of paper cut to size, and it actually worked out okay. Nice.
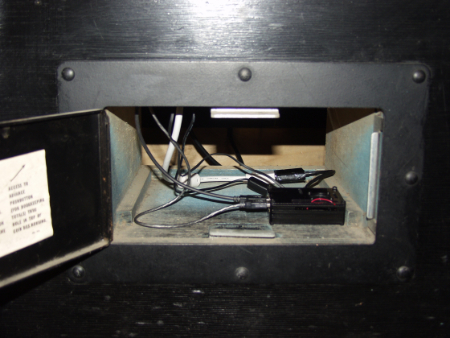
I ordered another monitor cheap, hoping maybe to just stick it in there but still use the nice bezel. Then I found a replacement LCD panel for the busted one, and just took the existing one apart and replaced it. This solved the problem there. Whew.
Meanwhile I've been looking into the games. I discover the RaspberryPi computer and the fact it can serve as a pretty decent platform itself.
And even better, youtube shows that my arcade stick can serve to control it. That's a nice feature of the stick, it can act as just a joystick for a PC, it doesn't even have to be on. It has a separate port for that and everything. So I figure that's a very cheep way of getting the exact games I want, let's try it.

Whoops, there's another problem. When I plug the stick in, up and left aren't registered. All the other buttons work, why don't these two? Turns out there's a long, long, LONG standing bug in the linux kernel. Basically if it sees an input value that is "too large" it doesn't just say "I'll just assume it's the maximum value" no. It just drops the input. The solution is to fix the blasted bug yourself and recompile the linux kernel on the Pi itself. HUH? Well, I tried it, I really, really did. But the directions were all years old, and honestly it wasn't what I wanted to be doing. I wanted to be playing arcade games. Not recompiling kernels. So I again took the loss (don't ask, the whole arcade joystick thing has another story I won't tell here) and got two separate controllers to use. This raises the question of why the one in the video worked and mine didn't. Good question class! I can only assume it looked like mine but wasn't. Like maybe this is a chinese knock off? I can't say. The video one worked, mine didn't, that's all I can tell you.
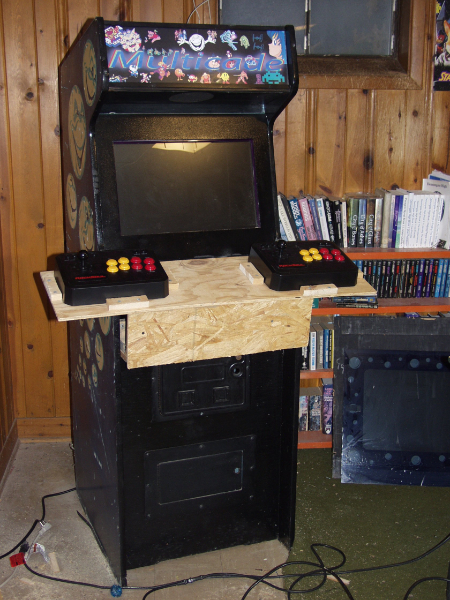
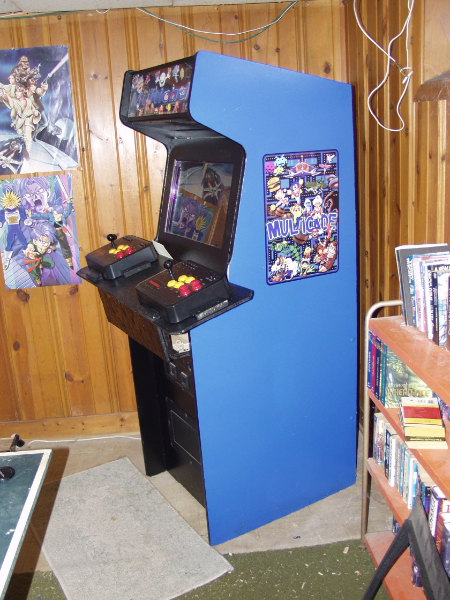
With my father's help we saw some of the wood off, and make a platform the controllers can sit on. It's finally shaping up. Time to paint it.
Lowes had exactly 1 can of black paint, I guess you have to go talk to someone and get the color you want made normally? It was for doors, and it was nasty smelling stuff, but it worked. I got some leftover blue from my parents that had been around since their old house (we never get rid of anything. We need help. Please send help.) So I could paint the sides.
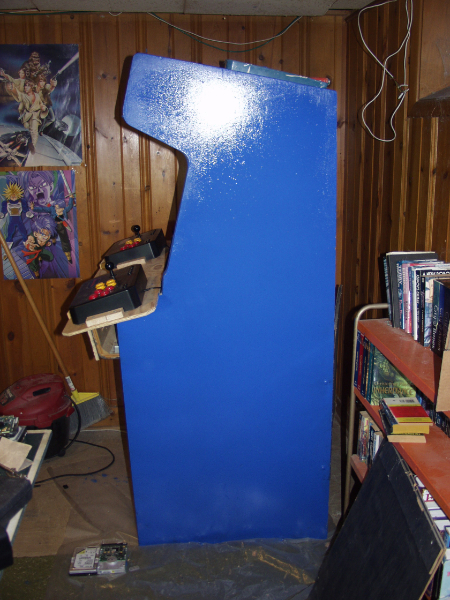
And yes, the thing is being tipped over on old Hard Drives. I told you we don't throw anything away. I told you we needed help. (send help)
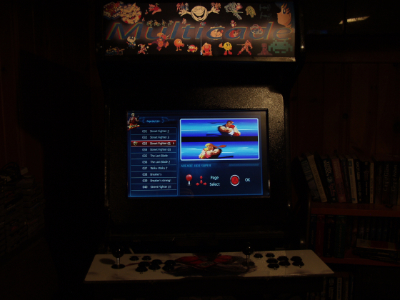
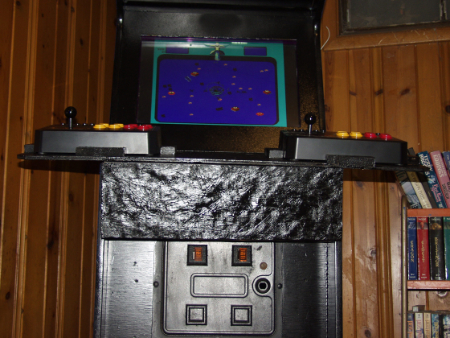
So here it is. All painted.

Only one step remains.
So there you have it. How I made my own arcade cabinet and no longer have a Bubbles shell. Thanks long forgotten person who gave it to me. Thanks to my father for helping with the project. Let's play some games!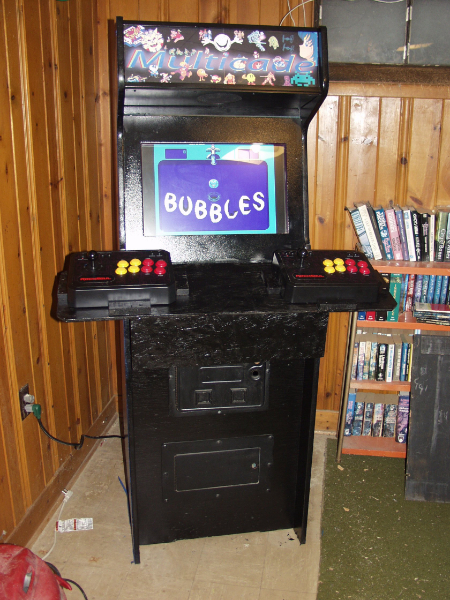
It begins innocently enough with me discovering this.
Basically a portable arcade joystick you can plug into a TV and have hundreds of games at your fingertips.
Even here, things have gone wrong without me knowing. I figure it would be chock full of "classic" arcade hits because those are the easiest to emulate, right? Wrong. It's full of fighting games, and a lot of Japanese stuff I've never heard of. Great! Not exactly what I wanted, but there's some good stuff on there so I figure it'll work out. I press on.
The target of this is my old Bubbles arcade cabinet. Having sat in my basement for over 15 years, it's time to do something with it.
It originally had a CRT television shoved into it, and I used it mainly for NES and TurboGrafx 16 games back in the day. Like, 25 years ago?
So the first thing to do is strip that out of there.
As you can see, my plan is to simply lower the front part, rest the arcade stick on that, paint the whole thing to look a little better, and be done with it.
First order of business, get a screen for the thing. I found an LCD that exactly fit. I mean it was so tight, I can't even tell you how tight it was. It was that tight.
Now the problems really start in earnest. The speakers worked great. But the screen, oh my goodness. I turn that sucker on and am greeted with this.
Thousands of dead pixels! Totally unusable. I spent a lot of money on that screen too, but of course from ebay. I should have sent the thing back but it was so perfect, and I didn't find anything else this exact size and configuration. With that nice metal bezel and whatnot. Moron didn't offer to take it back either, which I felt they should have. While trying to figure out what to do I pressed on.
This is simply 2 sheets of paper cut to size, and it actually worked out okay. Nice.
I ordered another monitor cheap, hoping maybe to just stick it in there but still use the nice bezel. Then I found a replacement LCD panel for the busted one, and just took the existing one apart and replaced it. This solved the problem there. Whew.
Meanwhile I've been looking into the games. I discover the RaspberryPi computer and the fact it can serve as a pretty decent platform itself.
And even better, youtube shows that my arcade stick can serve to control it. That's a nice feature of the stick, it can act as just a joystick for a PC, it doesn't even have to be on. It has a separate port for that and everything. So I figure that's a very cheep way of getting the exact games I want, let's try it.
Whoops, there's another problem. When I plug the stick in, up and left aren't registered. All the other buttons work, why don't these two? Turns out there's a long, long, LONG standing bug in the linux kernel. Basically if it sees an input value that is "too large" it doesn't just say "I'll just assume it's the maximum value" no. It just drops the input. The solution is to fix the blasted bug yourself and recompile the linux kernel on the Pi itself. HUH? Well, I tried it, I really, really did. But the directions were all years old, and honestly it wasn't what I wanted to be doing. I wanted to be playing arcade games. Not recompiling kernels. So I again took the loss (don't ask, the whole arcade joystick thing has another story I won't tell here) and got two separate controllers to use. This raises the question of why the one in the video worked and mine didn't. Good question class! I can only assume it looked like mine but wasn't. Like maybe this is a chinese knock off? I can't say. The video one worked, mine didn't, that's all I can tell you.
With my father's help we saw some of the wood off, and make a platform the controllers can sit on. It's finally shaping up. Time to paint it.
Lowes had exactly 1 can of black paint, I guess you have to go talk to someone and get the color you want made normally? It was for doors, and it was nasty smelling stuff, but it worked. I got some leftover blue from my parents that had been around since their old house (we never get rid of anything. We need help. Please send help.) So I could paint the sides.
And yes, the thing is being tipped over on old Hard Drives. I told you we don't throw anything away. I told you we needed help. (send help)
So here it is. All painted.
Only one step remains.
So there you have it. How I made my own arcade cabinet and no longer have a Bubbles shell. Thanks long forgotten person who gave it to me. Thanks to my father for helping with the project. Let's play some games!